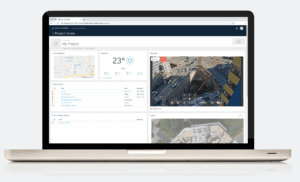
You can now embed your live TrueLook camera onto your BIM 360 dashboard.
In BIM 360, add the “TrueLook” card to your dashboard. Just add a TrueLook sharing URL to this card and you’re done! Your sharing URLs can be found in TrueLook’s admin settings.
Connecting your TrueLook and AutoDesk accounts will let you:
Send any photo from TrueLook to BIM 360
Access your AutoDesk contacts from within TrueLook
Note: You must have admin privileges for any TrueLook cameras that you wish to connect to AutoDesk.
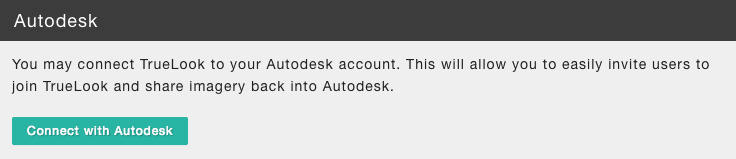
Within TrueLook, hover over your username in the top right and select “My Account”. You are now on your user settings page – select the “Integrations” tab. You will now see various integration options.
Click the “Connect with AutoDesk” button.
You will automatically be sent to AutoDesk, where you will have to grant TrueLook permission to access your account.
After clicking “Grant Permission”, you will be sent back to TrueLook. Once again, navigate to your Integrations settings. You will now see a list of your TrueLook cameras that you can link to any BIM360 projects. Use the dropdown to select the appropriate BIM 360 project for each camera.
Your projects are now linked!
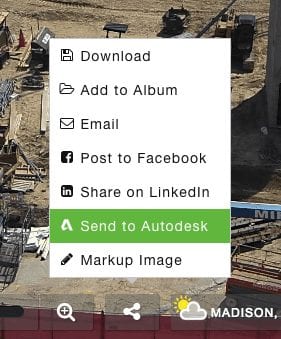
If you wish, you may now select which TrueLook media to automatically sync to BIM360. Use the dropdown menu to select any photo album or time-lapses that you want TrueLook to send to Autodesk. As TrueLook adds new photos to these photo albums and time-lapses, your new media will automatically sync to their corresponding BIM360 folder. Note: TrueLook will never delete anything out of AutoDesk. If you decide to unlink a camera, any photos already in AutoDesk will remain there. On any photo in TrueLook, click the share button and select “Send to AutoDesk”.
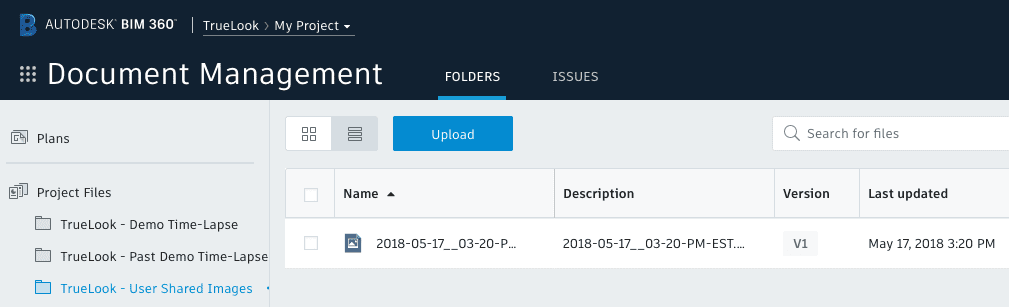
Alternatively, you can select “Markup Image” to add highlights or drawings. Then use the share menu again to select “Send to AutoDesk” once you are done with your markup. TrueLook photos are sent to photo albums within your “Document Management –> Project Files” area in BIM 360.
Using the share button and selecting “Email” allows you send any photo with a message directly to someone’s email account. Now that you have linked your AutoDesk account, TrueLook is able to populate email addresses from both your TrueLook and AutoDesk contacts.
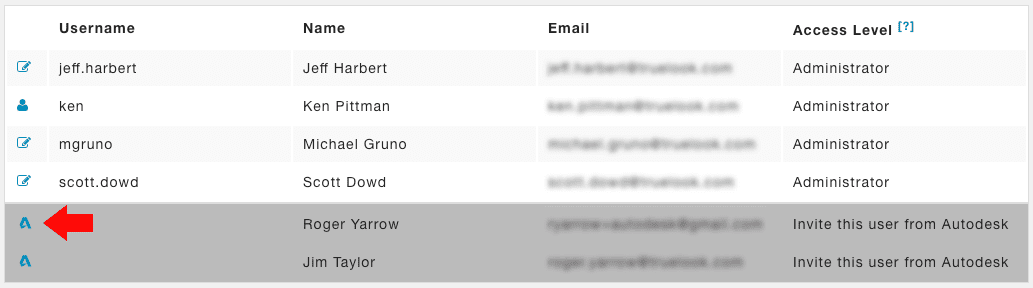
Within your TrueLook admin settings, you will now see AutoDesk users that can be invited to TrueLook. If you click the left-hand AutoDesk icon you will be able to assign camera permissions for that contact. Your contact will then receive an email invitation to join TrueLook along with their login information.
Allison Shaub
Allison, the CMO of TrueLook, one of the leading construction camera companies, is a seasoned marketing leader with 15 years of experience driving transformative change for startups, agencies, and Fortune 100/500 companies. With expertise across diverse B2B and B2C markets, including technology, construction, automotive, and healthcare, she's known for her customer-centric approach that consistently delivers higher ROI and exceptional product development. At TrueLook, Allison spearheads strategic marketing initiatives to enhance brand awareness, meet business objectives, and foster deeper consumer engagement. Beyond work, Allison loves spending time with her husband, son, and dog.