So you’ve decided to use a TrueLook Camera on your jobsite to track progress, catch mistakes, provide security — the list of reasons why is endless. Regardless, the day has come to finally install it, and you want it to go as smoothly as possible.
While TrueLook is proud to design jobsite cameras that require no special expertise to install or use, there are still some things you can do to save some time on your construction camera setup. For that reason, we’ve compiled our best tips and tricks for installing your TrueLook Camera(s).
Preparing For Installation
We know you’re excited to get your camera up and running, but there are still a few questions you need to ask yourself before you get ready to install it (or perhaps even further back when buying the camera):
Where will you mount your camera? Your TrueLook Account Executive will help you find the best vantage point on your jobsite, but that’s not where it ends. All TrueLook Cameras come standard with wall and pole mounting hardware, and if you decide to use that, then you need to locate the wall or pole your camera will go on. If there aren’t any good areas, then you may want to ask about non-penetrating roof mounts and other mounting solutions.
Do you also need a power solution like solar? If your jobsite is remote or has other power issues, then a solar-powered camera may be a great solution. TrueLook offers solar panels, solar skids, and mobile trailers for your jobsite camera’s powering needs.
Do you want installation taken off your plate entirely? Sometimes you’re just too busy to install a camera, or maybe your jobsite has some unique mounting challenges. Whatever the reason, TrueLook offers Professional Installation Services to handle it all for you.
Tools and Hardware Needed for Camera Installation
While your camera will arrive with some needed tools, there are a few extras you should have on hand for your construction camera’s installation. Plan ahead and have the following ready:
- Tin snips — perfect for cleanly cutting off any excess steel strap length from pole mounting installs
- Work gloves — our metal straps have sharp edges once cut, so it’s important to properly protect your hands
- Pliers — helpful for holding smaller hardware pieces like bolts and screws
- Power drill — great for getting mounting done quicker and making sure hardware is secure
For solar panels and wall mounting, you also need to have the correct hardware for your mounting type. Be sure to research ahead of time which bolts are appropriate for your surface’s material.
Tip: We recommend having a minimum of two people working on installation, especially for solar-powered camera installs. Solar panels are large and delicate, plus the batteries are quite heavy.
Final Power Check
It may sound obvious, but you should always make sure your power source is actually working prior to installation (or, in the case of solar panels, that they’re positioned for optimal performance). Here are some things to check:
110V Power
- Does your site have power?
- Is the breaker on? Has it been tripped?
- Are any extension cords properly connected?
Solar Power
- Are your solar panels facing directly south?
- If able to be adjusted, are your solar panels angled correctly based on your geographic location?
- Are your solar panels blocked from sunlight by a tree or building?
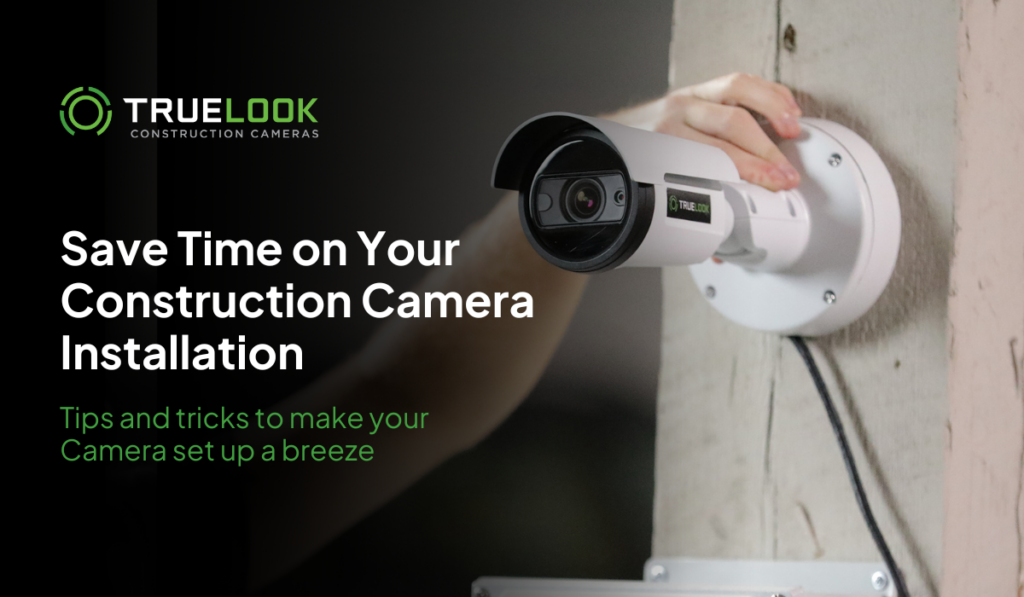
Installing the Camera
You’re finally ready! Now you can simply follow the directions in the installation manual that came with your camera. If you have misplaced the manual, you can find it and other resources online.
Once the camera is mounted and online (expect it to take about 10 minutes to wake up), we recommend logging into the TrueLook Platform to make sure everything is pointed in the right direction and angled appropriately. This is particularly important if you are installing a fixed camera, since the field of view won’t change unless you physically move the camera.
Tip: To keep your camera safe between projects, consider one of our rugged hard cases. They’re custom fitted to your camera and will keep it (and your installation tools) secure during transit.
Note for Later: Uninstalling Your Camera
When you’re done with your project and are ready to uninstall, make sure you remember to contact TrueLook to turn off your camera’s service and stop the billing process. All TrueLook Cameras come standard with Free-Forever Media Storage, meaning you will always have access to your project data, photos, and videos, even if you’re not currently paying for service.
When you’re ready for your next project, just install the camera and contact TrueLook to reactivate service for you — it’s that easy.
Enjoy Your New Camera
We hope this guide has helped you feel prepared and ready to install your TrueLook Camera. If you experience any issues, don’t hesitate to reach out to our Support team at support@truelook.com or 833-878-3566, Option 2.
Enjoy your TrueLook Camera, and best of luck with your project!